Deploying Your Project
Learn how to deploy your first project in PWS.
As this is an experimental service, we recommend you to clone your project to a separate folder so it won't disturb your current progress.
Pushing Changes
-
Go to the project page at
https://stndar.dev/{{ USERNAME }}/{{ PROJECT NAME }}, or accessing the project you want to deploy from the dashboard.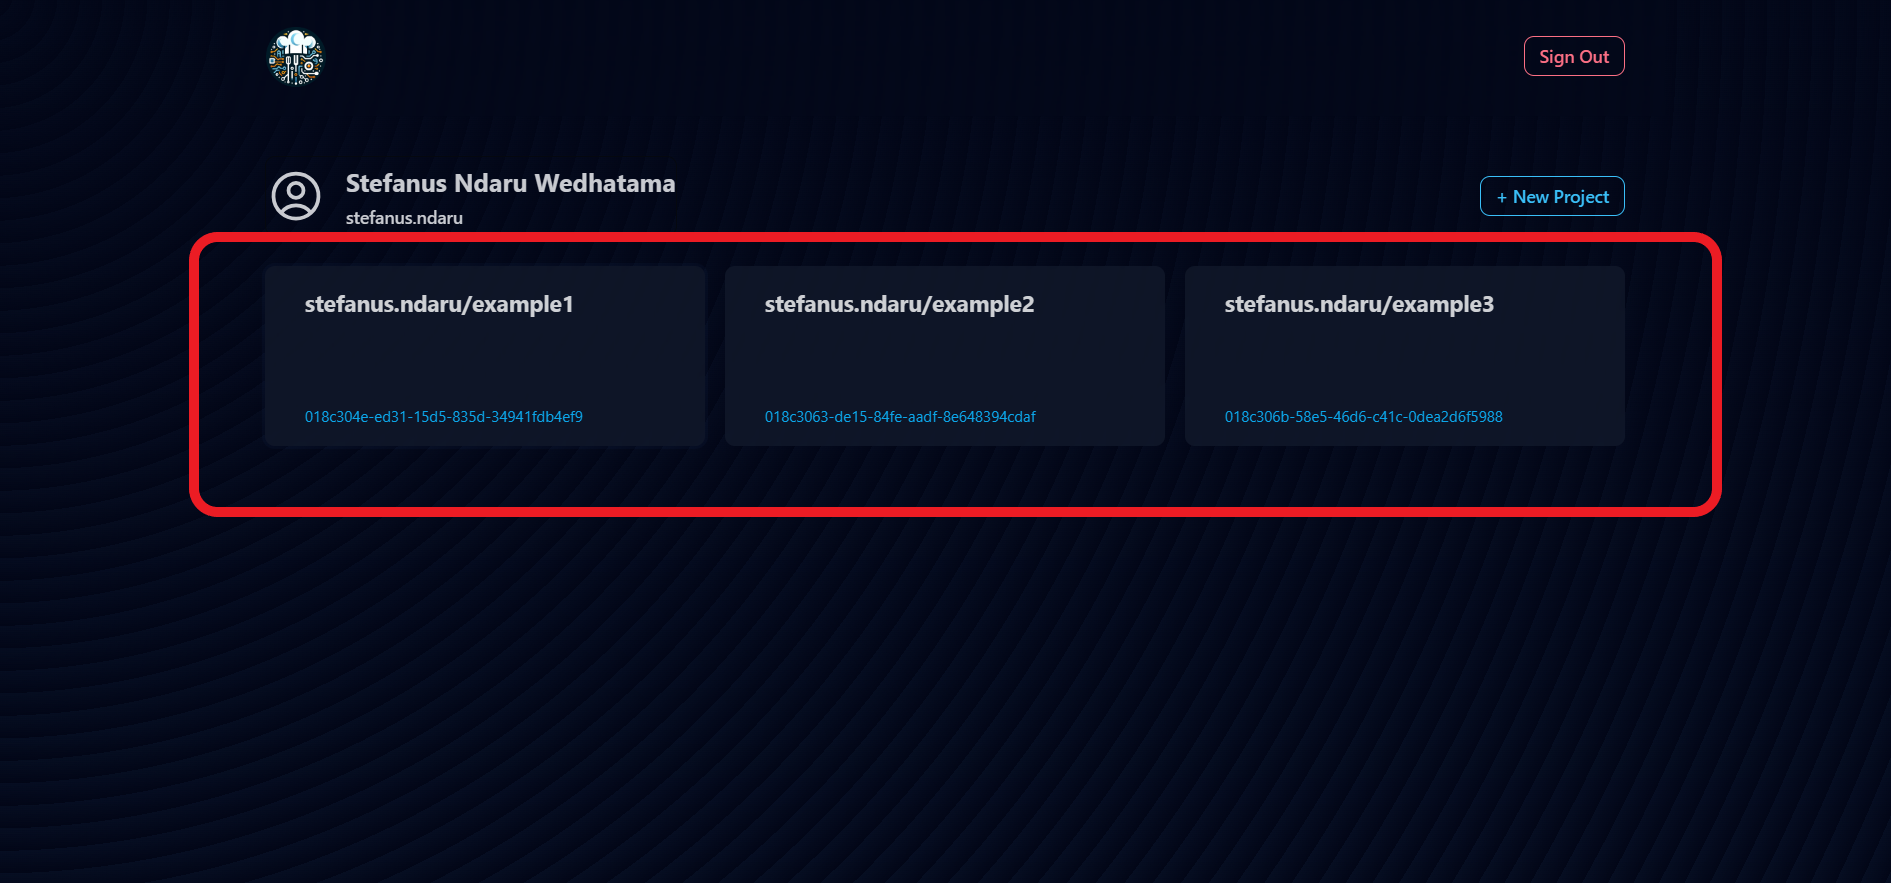
-
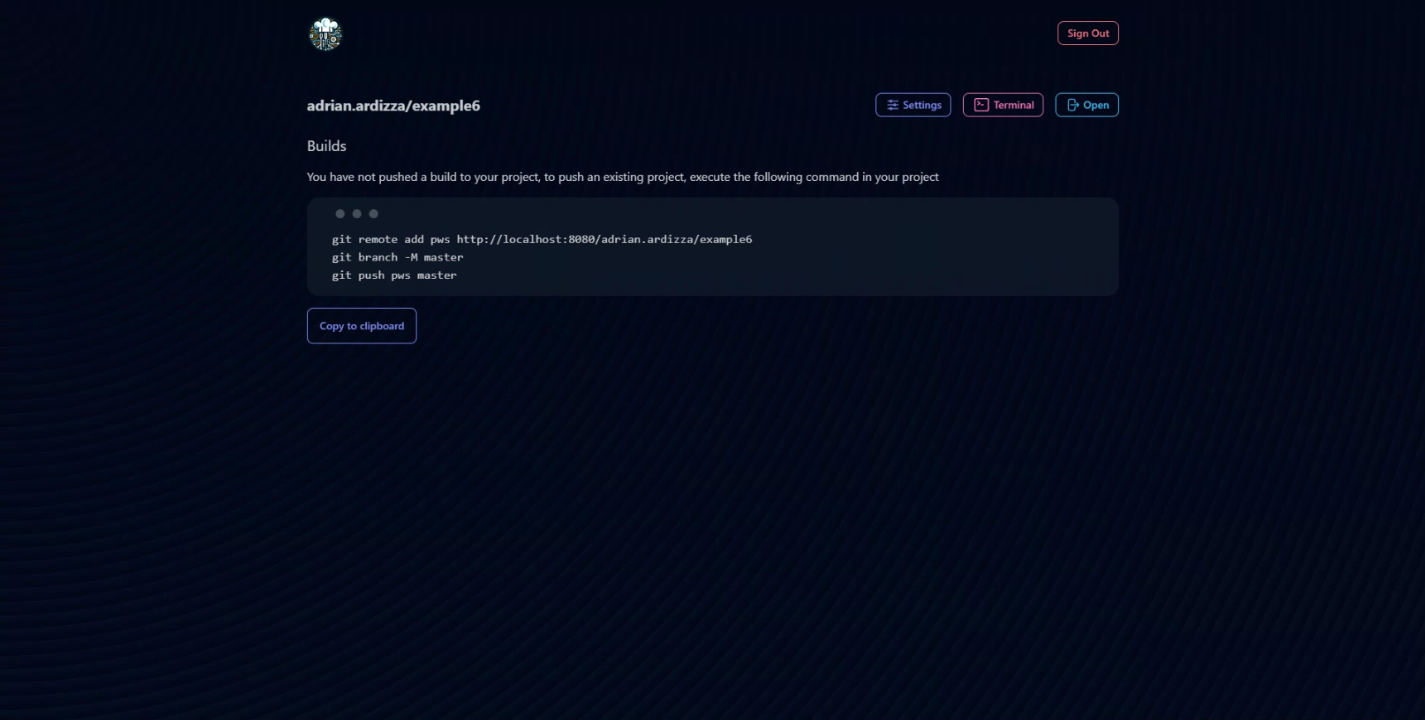
Copy the command to push. If you want to write it yourself, the format for the command is as follows:
git remote add pws https://stndar.dev/{{ USERNAME }}/{{ PROJECT NAME }}
git branch -M master
git push pws master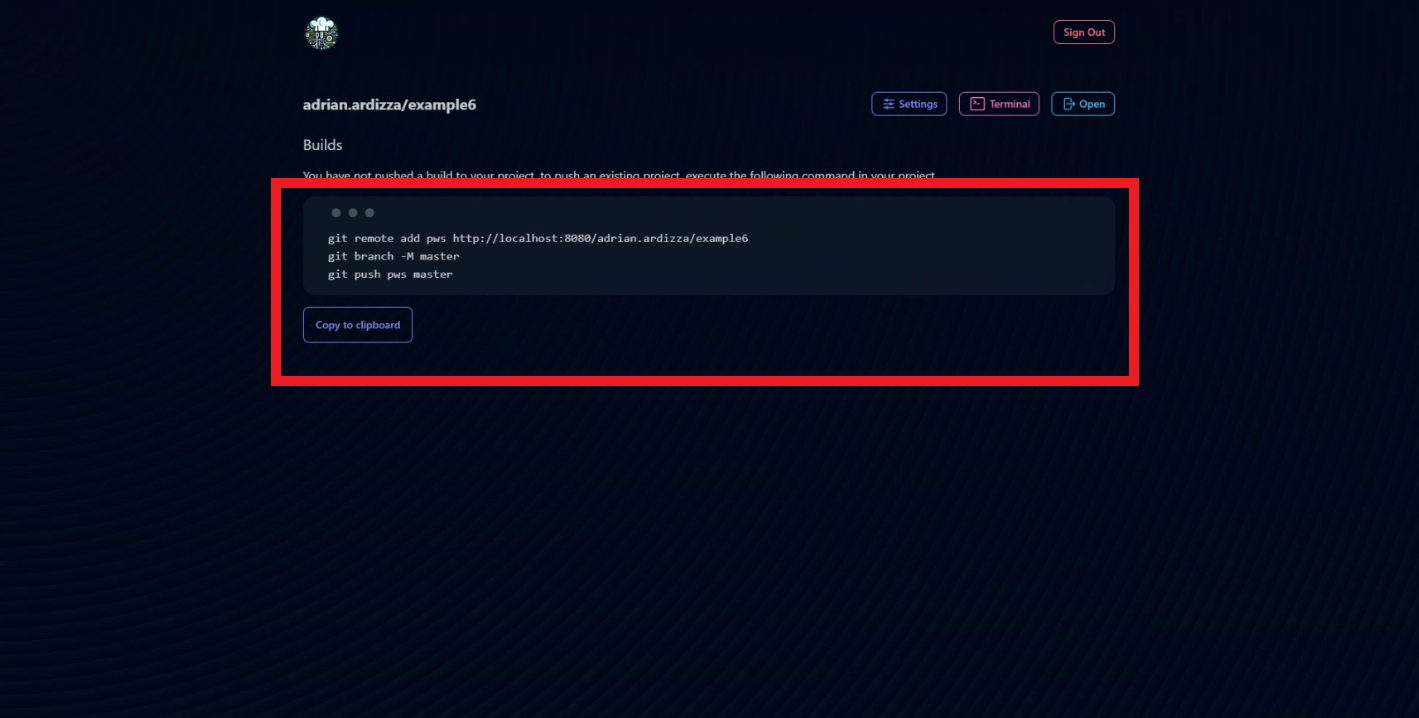 Master Branch
In the command, we set
git branch -M master. This will replace themainbranch withmasteras this is the default that we use on our PWS, hencegit push pws master -
Open a terminal on your computer and direct it to your project's directory. For example,
C:/johndoe/projects/bookworm. -
Ensure your project has the correct configuration. Make sure to read the prerequisites page first.
-
In the terminal on your computer, paste the command above to push your project to PWS.
-
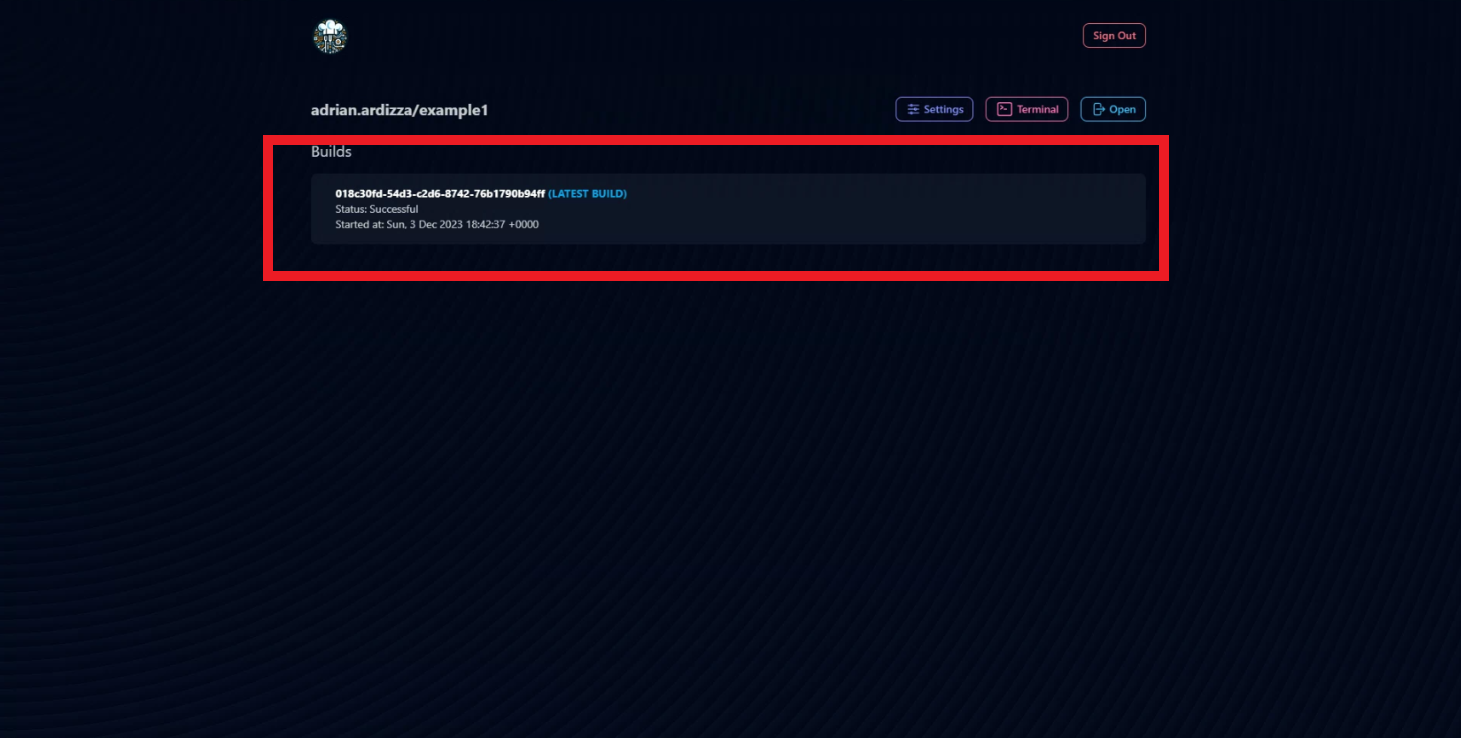
In the project page, you can see the status of the project being built and its latest build.
-
Once the status is
Successful, you can view the deployed application by clickingOpenor accessing it through the URL formathttps://{{ USERNAME }}-{{ PROJECT NAME }}.stndar.dev/. Make sure to replace.with-. For example, if your username isjohn.doeand the project isbooker, then the URL ishttps://john-doe-booker.stndar.dev/.
-
Congratulations, you have successfully deployed your first web application to PWS!
If you want to do changes, after you have done git remote add and git branch -M master step, you can simply commit your changes and push your update directly.
git add .
git commit -m "{{ COMMIT MESSAGE }}"
git push pws master